“`html
Step-by-Step Guide to Creating Custom Printed Mailer Boxes for DTC and Subscription Brands
Custom printed mailer boxes transform ordinary shipments into memorable unboxing experiences that boost brand loyalty for DTC and subscription brands. In an era where 71% of consumers share unboxing videos online, these boxes serve as powerful marketing tools that protect products while showcasing your identity.[3] This guide walks you through every step, from design to delivery, helping you create packaging that elevates customer expectations and drives repeat business.
Whether you’re shipping beauty subscriptions, apparel drops, or gourmet snacks, mailer boxes offer durability, printability, and sustainability. You’ll discover actionable steps, material choices, and expert tips to streamline production without compromising quality.
Why DTC and Subscription Brands Need Custom Printed Mailer Boxes
Direct-to-consumer (DTC) and subscription models thrive on recurring revenue, making first impressions critical. Custom mailer boxes protect goods during transit while reinforcing brand messaging on every delivery.[3] They reduce returns by ensuring products arrive intact and create shareable moments that amplify social proof.
Unlike generic packaging, these boxes feature full-color printing, custom sizing, and eco-materials that align with modern consumer values. Brands using branded mailers report higher perceived value and loyalty, turning one-time buyers into subscribers.[6]
Key Takeaway: Custom mailer boxes aren’t just containers—they’re your silent salespeople, delivering brand stories directly to customers’ doorsteps.[3]
Step 1: Define Your Box Specifications and Size
Start by measuring your product with at least 0.5-1 inch clearance on all sides for protection. Common sizes include 6x4x2 inches for small items like jewelry or 12x9x4 inches for apparel.[5] Consider stackability for subscriptions and USPS/UPS compatibility to avoid surcharges.
Choose from standard or custom dimensions based on volume. Pre-made sizes speed up production, while bespoke options fit irregular products perfectly.[1][2]
- E Flute: Lightweight, ideal for small items like stickers or documents[1]
- B Flute: Stronger for heavier goods, with pre-cut tabs for easy assembly[1]
- Kraft or White Corrugated: Eco-friendly options with matte or gloss finishes[2][3]
Production Timelines to Plan For
| Order Quantity | Standard Time | Rush Option |
|---|---|---|
| <500 boxes | 10-12 business days[2] | 6-8 business days[2] |
| 500+ boxes | 10-15 business days[3] | Available with premium[3] |

Step 2: Select Materials and Printing Options
Opt for recyclable corrugated cardboard like white kemi coated or kraft for sustainability. These materials support full-color digital printing with HP Latex inks for vibrant, food-safe results.[1][2] E-flute provides a premium feel without excess weight.
Decide on print sides: exterior only for cost savings, or interior/exterior for immersive unboxings. Gloss finishes pop on premium white stock, while matte kraft suits earthy brands.[3]
- Single-sided: Budget-friendly for outer branding
- Double-sided: Full immersion with thank-yous or instructions inside[2]
- No embellishments needed: Direct printing handles logos and patterns effectively[1]
Key Takeaway: Match material to your brand—kraft for organic vibes, premium white for luxury unboxings.[2][3]
Step 3: Design Your Mailer Box Artwork
Use online 3D tools to visualize your design in real-time, ensuring edge-to-edge prints align perfectly (tolerances around 4mm).[1][5] Incorporate logos, patterns, colors, and functional elements like QR codes for promotions.
Refine graphics for print-readiness: high-resolution (300 DPI), CMYK colors, and bleed margins. Professional services can adjust layouts for structural features like dust flaps.[3]
- Upload or create artwork via intuitive tools[2]
- Preview folding and assembly in 3D[5]
- Order a sample ($55 or credited on large orders) to test colors and fit[1][3]
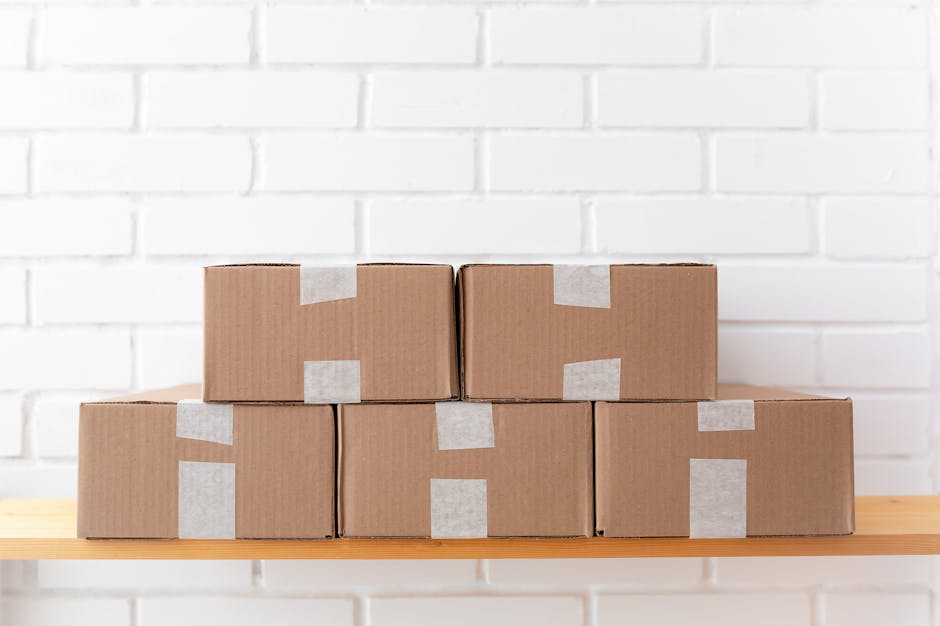
![]()
Step 4: Review, Approve, and Order
Suppliers review artwork for errors like misspellings or technical issues before production. Approve the proof, then select quantity—low MOQs suit DTC startups.[5] Flat-packed boxes ship efficiently, ready for quick assembly via pre-creased tabs.[1]
No glue or tape required; lockable tabs ensure tamper-evident seals. Track production (10-12 days standard) and prepare for bulk storage.
Practical Tips for DTC and Subscription Success
Integrate these strategies to maximize ROI on your custom mailers.
- Enhance Unboxing: Print interior messages or patterns for surprise elements[3]
- Sustainability Focus: Choose recyclable kraft to appeal to eco-conscious subscribers[3]
- Brand Consistency: Match colors and fonts across all touchpoints[6]
- Low MOQ Testing: Start small, scale with samples credited back[1]
- Functional Add-Ons: Include die-cut windows or inserts for multi-product kits[2]
- Social Sharing: Design photogenic exteriors that encourage Instagram posts
- Cost Optimization: Bundle with custom tape or labels for complete kits[6]
Key Takeaway: Treat every box as a mini billboard—protect, promote, and delight in one package.[4]
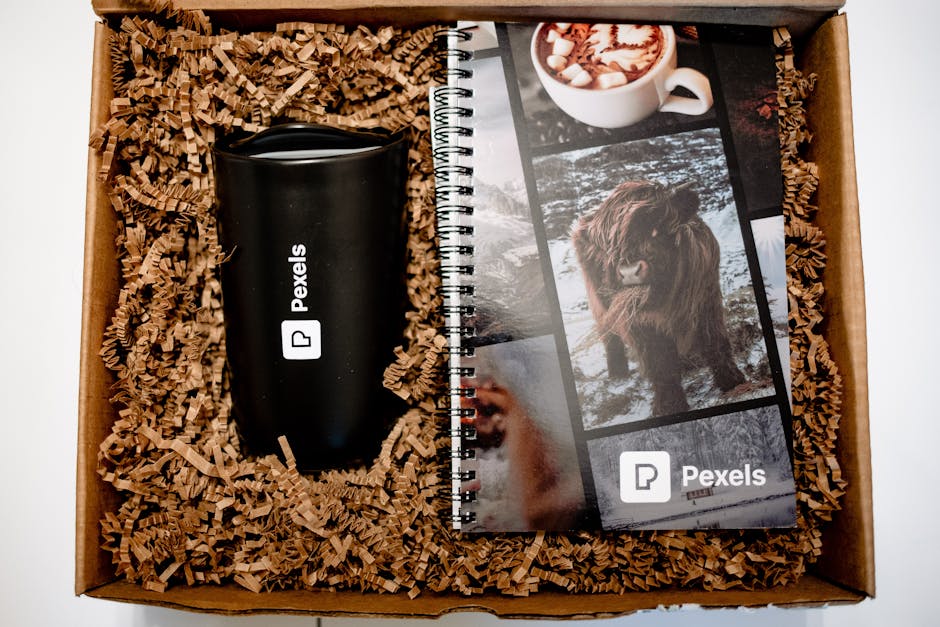
![]()
Quick Reference: Mailer Box Creation Checklist
- Measure product + clearance
- Select flute (E/B) and stock (kraft/white)
- Design in 3D tool, order sample
- Approve proof, confirm timeline
- Assemble, pack, ship
Conclusion
Mastering custom printed mailer boxes empowers your DTC or subscription brand to deliver standout experiences that build loyalty and word-of-mouth growth. By following these steps—from sizing and materials to design and production—you’ll create packaging that protects products and propels your business forward.
Ready to elevate your shipments? Explore custom solutions with offset printing, eco-materials, and low MOQ flexibility to match your brand’s vision.
“`