


“`html
The Ultimate Artwork Checklist for Custom Packaging: From Dielines to Color Management for Offset and Flexo Printing
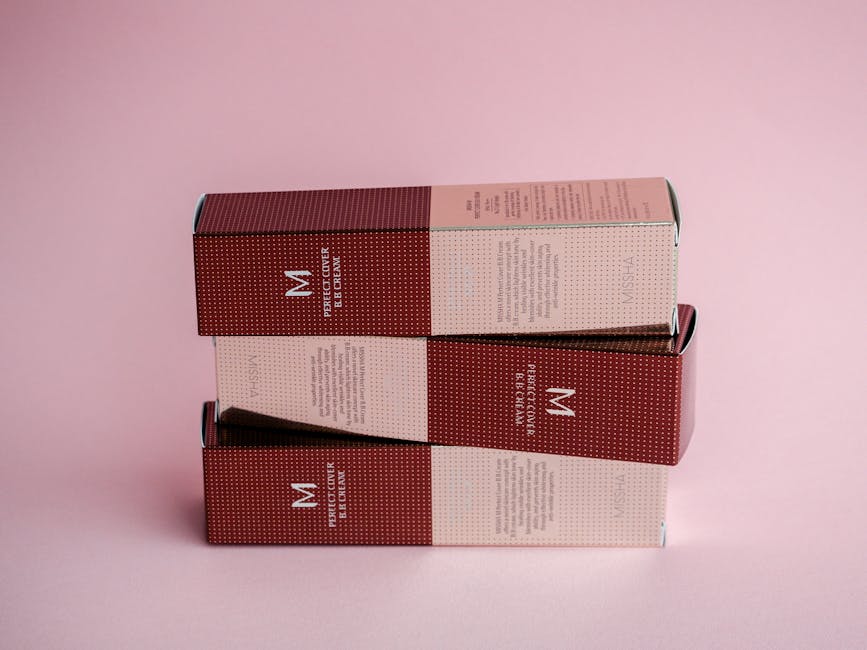
Custom packaging artwork transforms your brand vision into a tangible customer experience, but one overlooked detail can derail production. In the high-stakes world of offset and flexo printing, precise preparation ensures vibrant colors, sharp details, and flawless assembly. This comprehensive checklist equips you with actionable steps to avoid common pitfalls and deliver print-ready files every time.
Whether you’re launching an e-commerce brand or scaling retail packaging, mastering artwork prep saves time, cuts costs, and elevates quality. From dielines to final proofs, follow this guide to streamline your workflow with manufacturers like Epack, specialists in sustainable custom solutions.

Understanding Dielines: The Foundation of Print-Ready Artwork
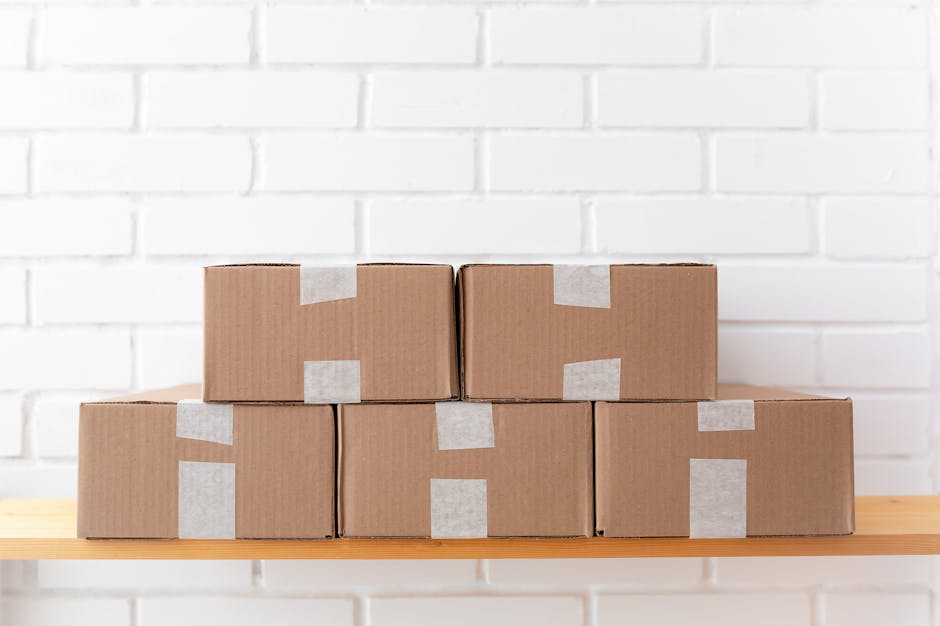
**Dielines** define the blueprint for your packaging, outlining cut lines, folds, creases, and glue flaps. Starting without the manufacturer’s provided dieline risks misalignment during die-cutting and folding. Always request and use the exact template to match production specifications[1][2][3].
For offset printing, dielines ensure high-precision cuts on rigid boards, while flexo printing adapts them for flexible materials like corrugated or film. Never scale, rotate, or recreate dielines—doing so invites costly reprints[1][7].
Key Dieline Setup Rules
- Place artwork on the original dieline without modifications
- Keep dieline on a separate, turn-offable layer
- Verify orientation matches the final box construction
- Include all panels: front, back, sides, top, bottom, and glue flaps
Key Takeaway: Templates are your friend—recreating them leads to production disasters.
Adapted from NAPCO’s 50 years of manufacturing insights[1]
Bleed, Safety Zones, and Layout Precision
Insufficient bleeds cause white edges on finished packaging, while elements too close to folds get truncated. Extend backgrounds and images at least 1/8 inch (3mm) beyond cut lines, or per template specs[1][4]. Safety zones keep logos and text 1/8-1/4 inch from folds and cuts[2].
In offset printing, precise bleeds support sharp registration; flexo requires extra due to substrate stretch. Test layouts by printing proofs at home to spot issues early[2].
Layout Checklist
| Element | Offset Printing | Flexo Printing |
|---|---|---|
| Bleed | 1/8″ minimum | 1/4″ recommended |
| Safety Zone | 1/8″ from folds | 3/16″ from folds |
| Text Size | 8pt minimum | 10pt minimum |

Color Management: CMYK, Pantone, and Proofing Essentials
RGB files shift dramatically in print—convert everything to CMYK color space for accurate reproduction[1][4][5]. Specify spot colors like Pantone only if required, and flatten transparencies to prevent errors[1].
Offset excels at rich CMYK gradients and fine details, while flexo handles spot colors efficiently on high-speed runs. Conduct color proofing with printed swatches to verify consistency across materials[4].
Color Workflow Steps
- Convert RGB to CMYK; avoid Pantone-to-CMYK auto-conversions unless specified[5]
- Label spot colors clearly on separate layers
- Flatten transparency effects
- Proof on target substrate for offset (paperboard) vs. flexo (corrugated)
Key Takeaway: CMYK ensures your screen design matches the printed package—RGB leads to surprises.
Industry standard from multiple packaging experts[1][4][5]
File Preparation and Layer Management
Submit files in PDF (high-res) or AI format, with each SKU as a separate file[2]. Convert all fonts to outlines to avoid substitutions[2][5]. Organize layers: artwork separate from dielines, effects labeled (e.g., “Foil”, “Emboss”)[1][4].
Remove guides, notes, and unused elements before export. For special finishes like foil stamping or embossing—common in offset—place on dedicated layers[1].
- Fonts: Outlined
- Resolution: 300 DPI minimum
- File Naming: [SKU]-[Panel]-[Version].pdf
- Instructions: Include separate PDF with notes

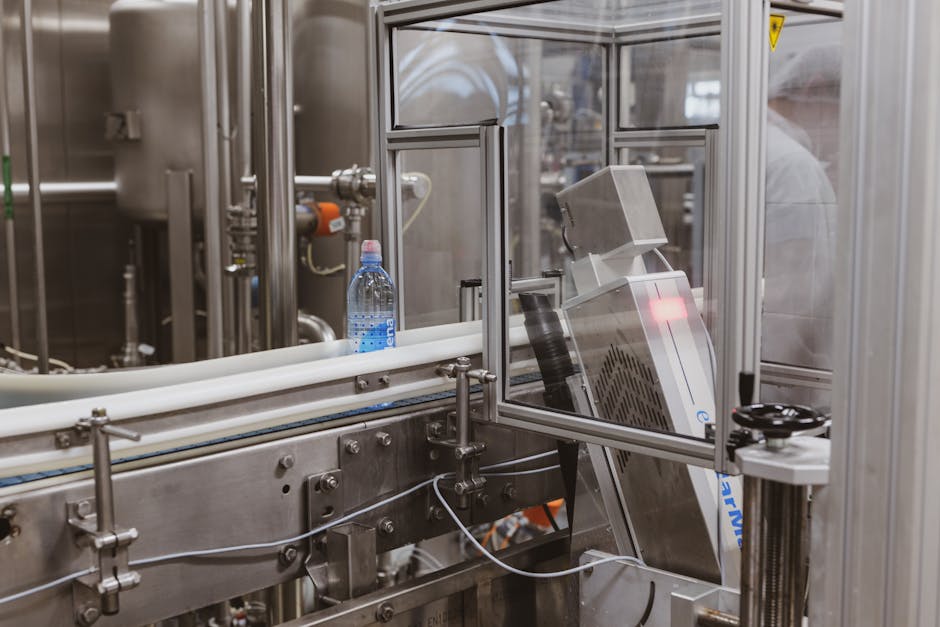
Offset vs. Flexo: Tailoring Artwork for Each Process
Offset printing uses flat plates for superior detail on solid boards, demanding tight tolerances in bleeds and registration[1]. Flexo printing employs flexible plates for corrugated or flexible substrates, requiring bolder designs to account for dot gain[5].
Compare processes to choose wisely:
| Aspect | Offset | Flexo |
|---|---|---|
| Best For | High-detail, short runs | High-volume, corrugated |
| Color Depth | Rich CMYK + spots | CMYK + expanded gamut |
| Trap/Overprint | Precise control | Adjusted for stretch |
Pre-Press Checklist: Your Final Quality Gate
Before submission, run this ultimate checklist to catch issues:
- Template: Used original, unscaled dieline[1][2]
- Bleed/Safety: Extended and respected zones[1][4]
- Color: Full CMYK, flattened, proofed[1][4][5]
- Fonts/Images: Outlined, 300 DPI[2][5]
- Layers/Finishes: Organized and labeled[1][4]
- File: PDF/AI, named correctly, instructions included[2]
Print a low-res proof and fold it manually to simulate assembly[2]. Collaborate with your manufacturer for prototypes—essential for complex designs[3].

7 Practical Tips for Flawless Custom Packaging Artwork
Implement these tips to connect your designs seamlessly with production partners offering low MOQ and eco-materials:
- Request dielines early and confirm specs for offset or flexo
- Use layer comps for variations (e.g., multiple SKUs)
- Test colors on actual substrates via swatches
- Incorporate sustainability icons in safe zones
- Plan for enhancements like matte lamination or foil
- Archive native files with versions
- Schedule a pre-flight review with your manufacturer
Key Takeaway: Prototyping bridges design and reality—skip it at your peril.
From comprehensive packaging checklists[3][4]
Quick Reference: Ultimate Artwork Checklist
- Dieline intact + bleeds extended
- CMYK colors + fonts outlined
- Safety zones respected
- Layers organized + effects flattened
- Proofed and prototyped
Conclusion
Mastering this artwork checklist from dielines to color management positions your custom packaging for success in offset and flexo printing. You’ll achieve brand-enhancing results that delight customers and streamline production.
Ready to elevate your packaging? Partner with experts in sustainable, custom solutions to turn checklists into reality—what’s your next design project?
“`
Permalink